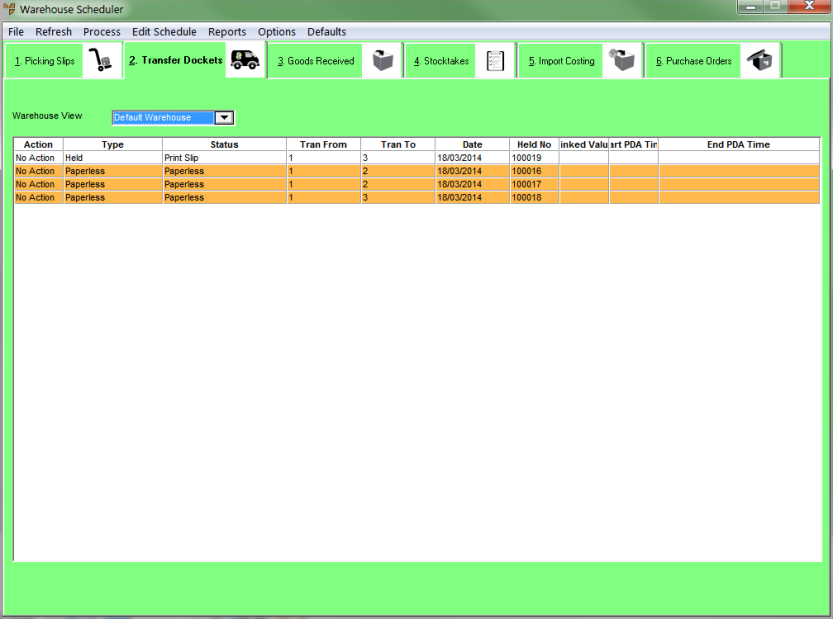
You can use the Warehouse Scheduler - Transfer Dockets tab to combine multiple transfers so they are linked together for downloading onto a PDA. You might do this, for example, to link the transfers for picking and then unlink them for the actual transfer.
You can only link transfers that have the same source and destination warehouses.
To combine transfers:
Refer to "Displaying the Warehouse Scheduler".
Micronet displays the Warehouse Scheduler - Transfer Dockets tab.

For more information about the fields on this tab, see "Viewing or Changing the Status of a Transfer Docket".
|
|
|
Technical Tip This screen is not automatically updated. It is a good idea to select FILE | REFRESH every now and then to ensure you are viewing the most recent data. |
You can select your Default Warehouse or any single warehouse. You must select a warehouse.
Note that the Action field has now changed to Linked.

Micronet links the selected transfer dockets and then redisplays the Warehouse Scheduler - Transfer Dockets tab with the status of those dockets set to Paperless Linked.

|
|
|
Technical Tip
|